Are you struggling with a garage door opener that’s acting up? Perhaps your remote control no longer works, or maybe you’ve moved into a new home and need to reset the garage door opener for security reasons. Whatever your situation, learning how to reset the garage door opener is an essential skill for any homeowner. This comprehensive guide will walk you through the entire process step by step, ensuring your garage door system functions smoothly again.
Key Takeaways:
- Most garage door opener systems can be reset in under 5 minutes with simple steps
- Different garage door opener models require slightly different reset procedures
- Regular maintenance prevents the need for frequent resets
- Safety should always be your priority when working with garage door systems
- Professional garage door service may be necessary for complex problems
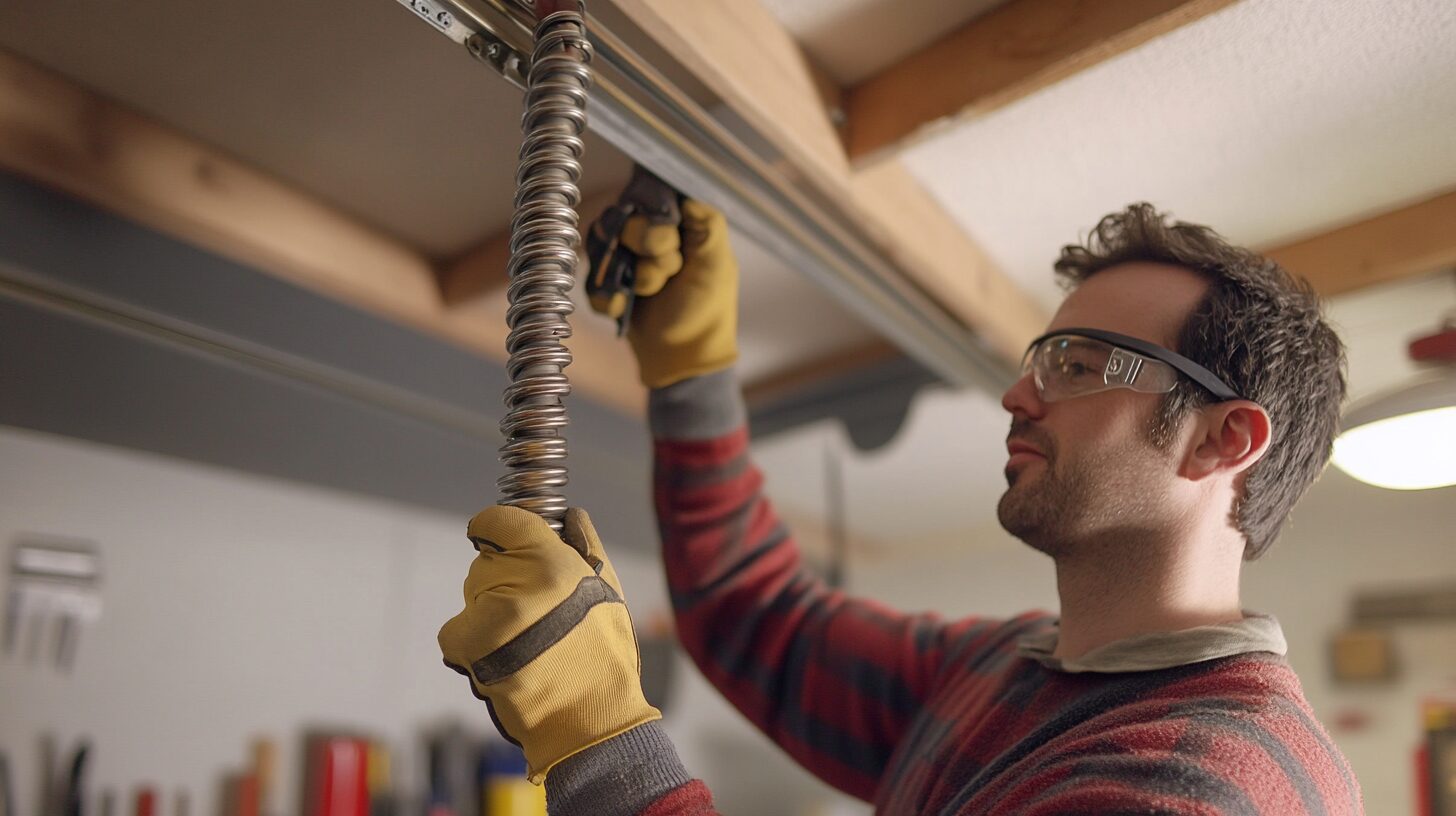
Your Garage Door Opener Basics
Before diving into the reset process, it’s important to understand what makes up your system. A typical setup includes the opener mounted to your ceiling, a wall mounted control panel inside your garage, and at least one hand held remote control. The system works together to provide convenient access to your garage while maintaining home security.
Modern garage door opener models utilize rolling code technology, which generates a new code each time you use your remote. This technology significantly enhances your home security by preventing code stealing devices from capturing and replicating your access codes.
When problems arise with your garage door system, a reset is often the first step in troubleshooting. Issues like unresponsive remotes, inconsistent operation, or the need to remove old codes from the opener’s memory can typically be resolved through a proper reset.
When You Want to Reset
There are several situations when you might want to reset your garage door opener:
- After a power outage that disrupts programming
- When remote controls stop working properly
- When installing a new garage door
- After replacing your remote control or keypad
- To fix garage door problems related to programming
- When you suspect unauthorized access
- After purchasing a lost remote replacement
Understanding why you need to reset helps determine the specific process required, as some situations may call for a complete reset while others might only need remote reprogramming.
Reset Steps for Popular Openers
The specific instructions to reset garage door openers vary depending on the manufacturer and model. Always consult your garage door opener’s manual for the most accurate instructions. Here’s how to approach resetting the most common types:
LiftMaster Reset Process
LiftMaster is one of the most popular brands, and their reset process is straightforward:
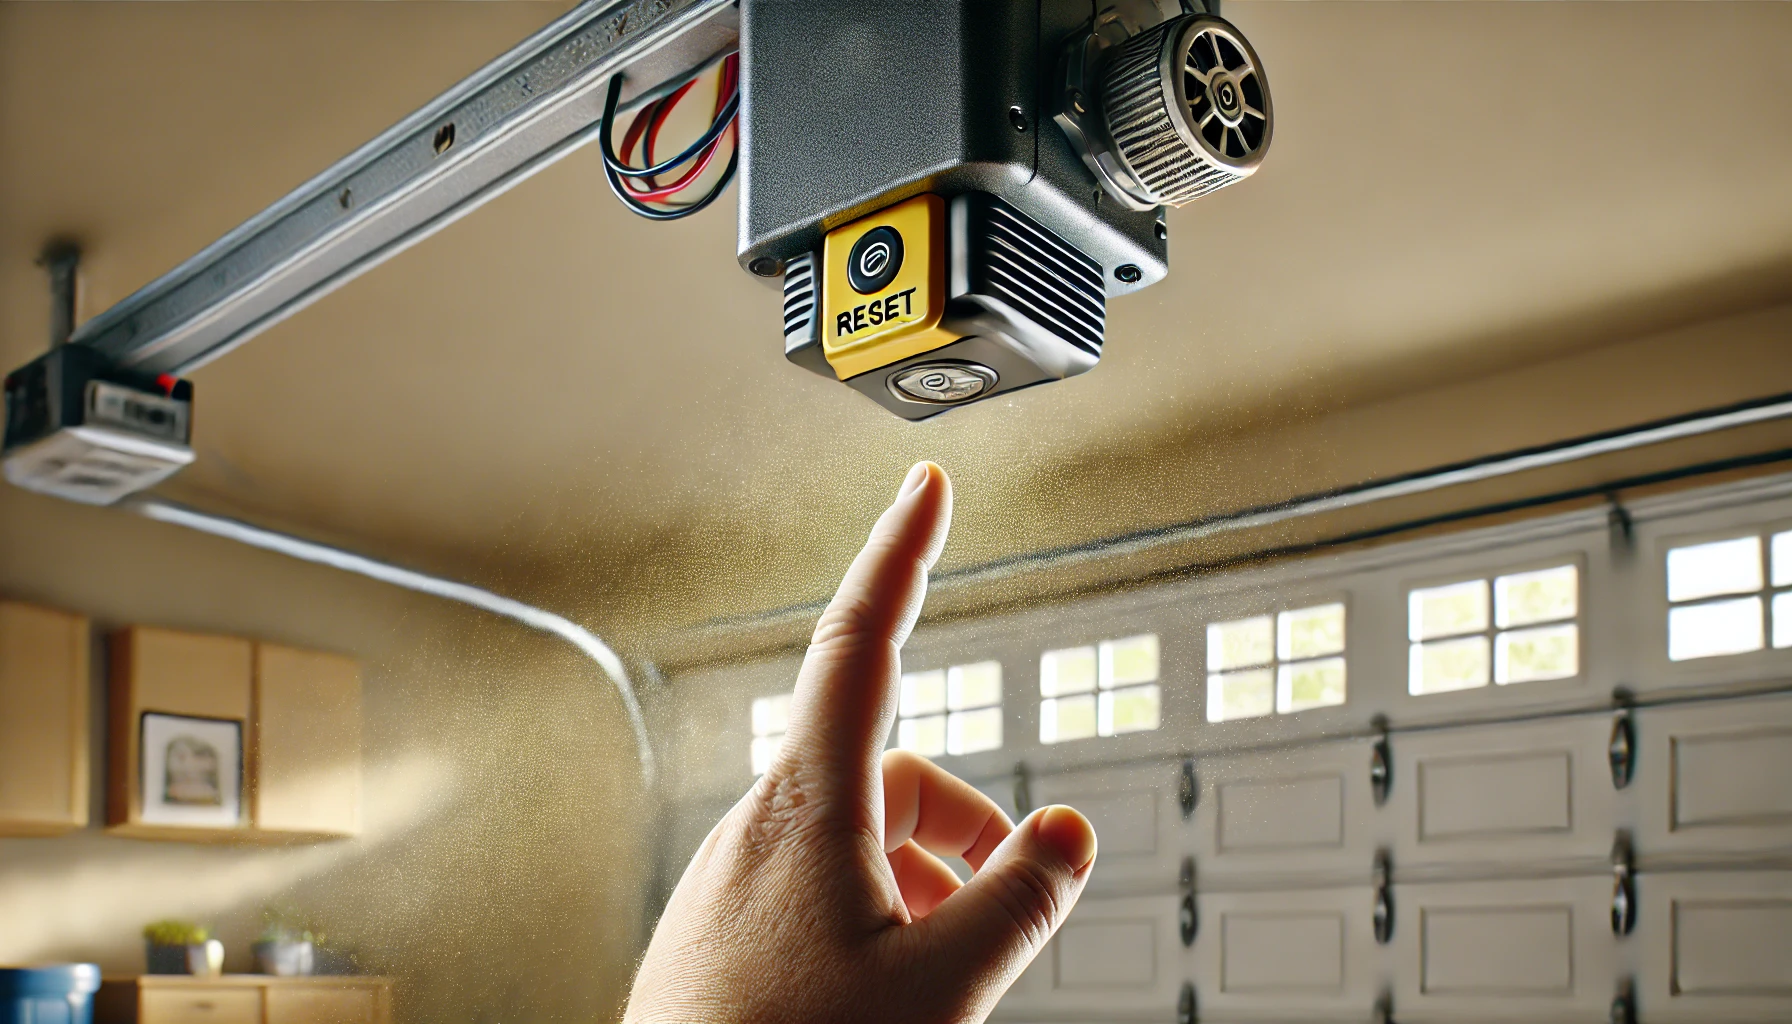
- Locate the “Learn” button usually located on the back or side panel. This is typically a colored button (often yellow, orange, or purple).
- Press and hold the learn button for about 6 seconds until the LED light turns off.
- Release the button. This erases all programmed remotes and keypads.
- Reprogram your hand held remote control following the instructions in your manual.
The indicator light will typically blink during this process to confirm the reset is in progress.
Genie Opener Reset
For Genie garage door opens, follow these steps:
- Locate the program/set button usually located on the control panel.
- Press and hold the button until the LED light blinks twice.
- Release the button after the LED light stops blinking.
- Test the reset by attempting to use your remote.
- Program a new secure code for each remote.
Chamberlain Reset Instructions
Chamberlain openers follow a similar process to LiftMaster:
- Find the learn button on the side panel.
- Press and hold for 6 seconds until the LED light goes out.
- All devices will be erased from memory.
- Reprogram your devices following the reset.
Step-by-Step Guide to Completely Reset Your Garage Door Opener
If you’re looking for a comprehensive reset of your garage door opener system, follow these detailed steps:
| Step | Action | Purpose |
|---|---|---|
| 1 | Disconnect power | Ensures safety during reset process |
| 2 | Wait 30 seconds | Allows capacitors to discharge |
| 3 | Reconnect power | Prepares unit for programming |
| 4 | Locate reset button | Typically colored and labeled |
| 5 | Press and hold reset button | Initiates factory reset process |
| 6 | Watch for LED confirmation | Verifies reset is complete |
| 7 | Reprogram devices | Restores functionality with new codes |
This process will return your garage door opener to its factory settings, erasing all previously programmed remotes, keypads, and custom settings.
How to Reset Your Garage Door Remote
Sometimes, you only need to reset the remote control rather than the entire opener unit:
- Check your remote’s battery first, as a weak battery is often the culprit behind remote failures.
- Find the learn button on your garage door motor unit.
- Press the learn button once (don’t hold it down for a complete reset).
- Quickly press the button on your remote that you want to program.
- The opener’s light will blink or you’ll hear a click confirming successful programming.
- Test the remote to verify it works properly.
This process creates a new code between your remote and the opener without erasing other programmed devices.
Resetting Your Garage Door Keypad
If you have a wireless keypad for your garage door, you may need to reset and reprogram it as well:
- Locate the learn button on your garage door opener unit.
- Press the learn button once.
- Enter a new code of your choosing on the keypad.
- Press the enter button on the keypad.
- The indicator light on the opener will blink confirming the new code has been accepted.
- Test the keypad by entering your new code and pressing enter.
Keypads provide convenient access to your garage without needing to carry a remote control, but they should be reset periodically for security reasons.
Fix Common Reset Problems
Sometimes you may encounter issues with the reset process. Here are solutions to common problems:
LED Light Issues
If the LED light doesn’t blink during reset:
- Check if the opener is receiving power
- Ensure you’re pressing the correct button
- Remove the light cover and check if the bulb needs replacement
- Inspect for loose wiring connections
Remote Not Working After Reset
If your hand held remote control doesn’t work after reprogramming:
- Verify the battery is good
- Make sure you completed the programming steps within the time limit
- Try moving closer to the opener during programming
- Consider purchasing a new one if damaged
Opener Not Accepting Factory Reset
If your garage door opens but won’t reset properly:
- Disconnect power for a longer period (5-10 minutes)
- Check your garage door opener’s manual for model-specific instructions
- Inspect photo eye sensors for proper alignment
- The circuit board may require professional repair
When to Call Professional Garage Door Service
While most reset procedures can be handled without professional help, there are times when calling skilled technicians is the best course of action:
- If you’ve attempted multiple resets without success
- When the opener shows signs of physical damage
- If the motor runs but the door doesn’t move
- When you hear unusual noises during operation
- If safety sensors aren’t working properly
- When the door moves erratically after resetting
Royal Garage Doors provides comprehensive garage door repair services when DIY approaches aren’t resolving your issues. Our technicians are trained to diagnose and fix complex problems with all major garage door opener brands.
Maintaining Your Garage Door Opener for Smooth Operation
To reduce the frequency of resets and repairs, regular maintenance is key:
- Lubricate moving parts every 3-6 months
- Tighten all hardware as vibrations can loosen bolts and screws
- Test safety features monthly, especially auto-reverse sensors
- Clean tracks and rollers to prevent debris buildup
- Check remote batteries and replace them annually
Proper maintenance keeps your garage door system in top shape and reduces the likelihood of needing to reset or repair components.
Safety First
Safety should always be your priority when working with garage ae door systems:
- Always disconnect power before performing any maintenance
- Keep fingers and tools away from moving parts
- Never bypass photo eye sensors or disable safety features
- Test the door balance manually after any reset
- Verify auto-reverse functionality after reprogramming
- Keep new secure code information private
Remember that garage doors are heavy objects under tension, and improper handling can cause serious injury.
FAQ: Common Questions About Resetting Garage Door Openers
How often should I reset my garage door opener?
You typically only need to reset your garage door opener when experiencing problems or after a power outage that affects functionality. There’s no need for regular resets if the system is working properly.
Will resetting my garage door opener fix connection problems?
Yes, resetting your garage door opener can often resolve connection issues between the opener and your remotes or keypad by establishing new access codes.
Do I need to reset my garage door opener after a power outage?
Not always, but if your garage door shows erratic behavior following a power outage, a reset may help restore normal operation.
How do I know if my garage door opener reset was successful?
After resetting, the LED light will typically provide confirmation through a specific blink pattern. Additionally, previously programmed remotes should no longer work until reprogrammed.
Can I reset my garage door opener without the manual?
Yes, most garage door openers follow similar reset procedures. Look for a colored learn button usually located on the back or side panel of the unit.
How do I reset my garage door keypad without the PIN?
You’ll need to reset the entire system first, which will erase all programmed devices including the keypad. Then you can program a new PIN.
Why won’t my garage door opener respond to the reset button?
If your opener doesn’t respond to the reset button, it could indicate a power issue, circuit board failure, or that you’re not pressing the correct button. If you continue to encounter issues, consult your manual or contact a professional.